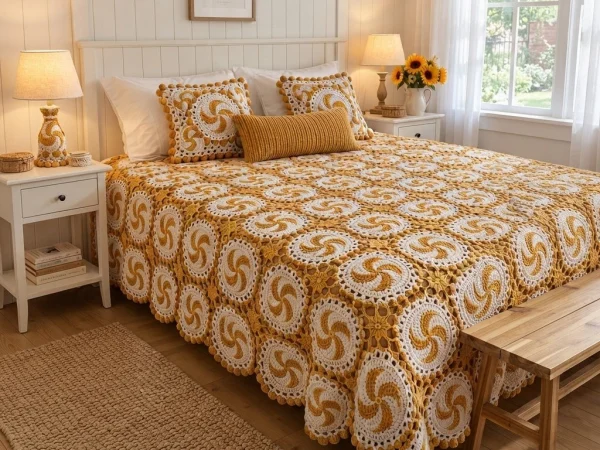
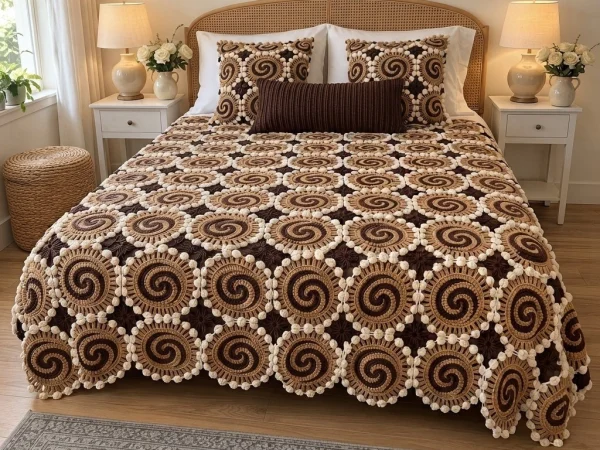
Burgundy Textured Spiral Motif Crochet Blanket
Beginner Friendly
Perfect for those just starting their crochet journey, with clear instructions and simple techniques
Single-Day Project
A satisfying project you can complete in a single afternoon or evening.
Handmade Gift
A beautiful keepsake — free forever. Read online or print at home.
About This Burgundy Textured Spiral Motif Crochet Blanket
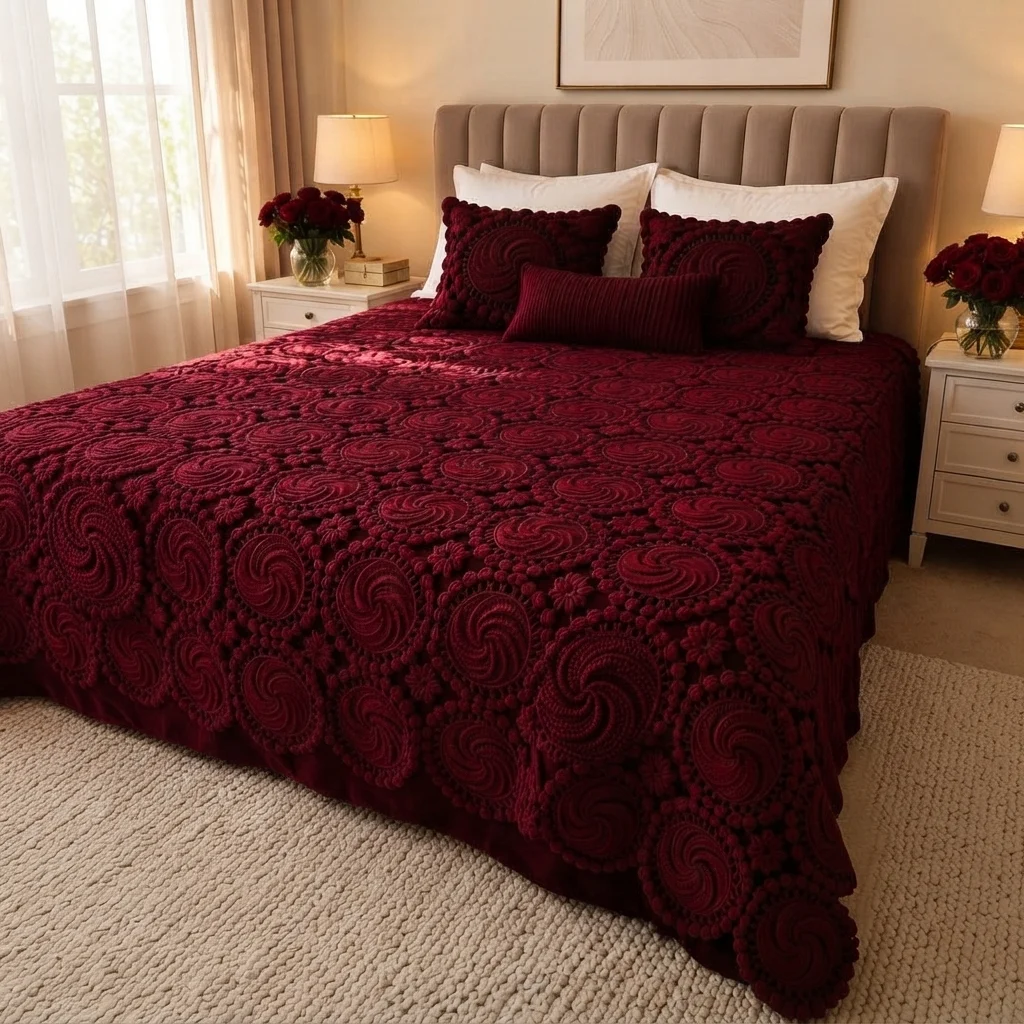
This burgundy crochet blanket pattern covers a bed in 63 round motifs, each with a raised four-arm swirl at the center, a lacy ring and a border of plump popcorn bobbles. The circles are joined in a square grid where their popcorns touch, and a small six-petal flower fills each gap. Worked in a single deep color, the texture does all the work, and the blanket looks rich and sculptural, especially in side light.
Every motif is the same, so once you have made one the rest follow easily. The swirl is a flat spiral of single crochet in which some stitches are worked in the back loop only. The unworked front loops sit up as raised ridges, and a written chart tells you exactly where they go so the arms curve evenly. The lace ring and the popcorn round are quick by comparison.
Plan on about 70 minutes per motif, plus joining and the flowers, so roughly 85 to 105 hours for the full size, or about 40 hours for a throw. It suits crocheters who are comfortable with single crochet in the round, working in the back loop only and making popcorn stitches. The pattern also includes matching textured pillow covers and a ribbed lumbar pillow.
Materials
- Bulky (weight 5-6) yarn in burgundy / wine about 2,400 m (2,630 yd) for the full-size blanket
- Extra yarn for two pillow covers about 620 m (680 yd)
- Extra yarn for the ribbed lumbar pillow about 175 m (190 yd)
- 6 mm (US J-10) crochet hook
- Large-eye tapestry needle for joining and sewing on the flowers
- 4 stitch markers for marking the popcorns
- Blocking mats and rustproof pins
- Two 50 cm (20 in) pillow inserts optional, for the pillow covers
- One 25 x 50 cm (10 x 20 in) lumbar pillow insert optional
Abbreviations
MRmagic ringchchainscsingle crochetdcdouble crochetsl stslip stitchst(s)stitch(es)skskipspspaceincincrease: 2 sc in the same stNwork in both loops as usualBwork in the back loop only (BLO)pcpopcorn: 5 dc in the same st or sp, drop the loop, insert the hook in the first dc, pick up the dropped loop and pull through, then ch 1 to close4 scsc in each of the next 4 sts (same idea for any number)Spiral Motif (make 63 for the full size)
The center is a flat disc worked in a continuous spiral with no joining and no turning, so every round has 6 more stitches than the one before. Use a marker to track the first stitch of each round. In each line below, the letter is the way you work the stitches that follow, until the next letter: N means both loops and B means back loop only. Each inc counts as one stitch of the type shown, and both of its sc are worked the same way. The stitches left unworked in the front loops form raised ridges on the right side, and the chart rotates them a little every round so the arms spiral. The stitch count in brackets is the total for the round.
- Rd 1: N: 6 sc in MR. Pull the tail to close the ring tightly. (6)
- Rd 2: N: inc; B: inc; N: inc, inc; B: inc; N: inc. (12)
- Rd 3: N: 1 sc, inc; B: 1 sc; N: inc, 1 sc; B: inc; N: 1 sc, inc; B: 1 sc; N: inc, 1 sc; B: inc. (18)
- Rd 4: N: 2 sc; B: inc, 1 sc; N: 1 sc, inc; B: 2 sc, inc; N: 2 sc; B: inc, 1 sc; N: 1 sc, inc; B: 2 sc, inc. (24)
- Rd 5: N: 1 sc; B: 2 sc, inc; N: 3 sc; B: inc, 2 sc; N: 1 sc, inc, 1 sc; B: 2 sc, inc; N: 3 sc; B: inc, 2 sc; N: 1 sc, inc. (30)
- Rd 6: B: 4 sc; N: inc, 3 sc; B: 1 sc, inc, 1 sc; N: 3 sc, inc; B: 4 sc; N: inc, 3 sc; B: 1 sc, inc, 1 sc; N: 3 sc, inc. (36)
- Rd 7: B: 3 sc; N: 2 sc, inc, 1 sc; B: 4 sc, inc; N: 5 sc; B: inc, 3 sc; N: 2 sc, inc, 1 sc; B: 4 sc, inc; N: 5 sc; B: inc. (42)
- Rd 8: B: 2 sc; N: 4 sc, inc; B: 6 sc; N: inc, 4 sc; B: 2 sc, inc, 2 sc; N: 4 sc, inc; B: 6 sc; N: inc, 4 sc; B: 2 sc, inc. (48)
- Rd 9: N: 7 sc; B: inc, 4 sc; N: 3 sc, inc, 2 sc; B: 5 sc, inc; N: 7 sc; B: inc, 4 sc; N: 3 sc, inc, 2 sc; B: 5 sc, inc. (54)
- Rd 10: N: 5 sc; B: 3 sc, inc, 2 sc; N: 6 sc, inc; B: 7 sc; N: 1 sc, inc, 5 sc; B: 3 sc, inc, 2 sc; N: 6 sc, inc; B: 7 sc; N: 1 sc, inc. (60)
- Rd 11: N: 3 sc; B: 6 sc, inc; N: 8 sc; B: 1 sc, inc, 6 sc; N: 3 sc, inc, 3 sc; B: 6 sc, inc; N: 8 sc; B: 1 sc, inc, 6 sc; N: 3 sc, inc. (66)
- Rd 12: B: 9 sc; N: 1 sc, inc, 6 sc; B: 4 sc, inc, 3 sc; N: 7 sc, inc; B: 9 sc; N: 1 sc, inc, 6 sc; B: 4 sc, inc, 3 sc; N: 7 sc, inc. (72)
- Rd 13: Sc in each st around, working in both loops. Join with a sl st to the first sc. (72)
- Rd 14 (lace): Ch 1. [Sc in the next st, ch 3, sk 2 sts] 24 times. Join with a sl st to the first sc. (24 ch-3 sps)
- Rd 15 (popcorns): Join with a sl st in any ch-3 sp. Ch 3 (counts as the first dc), 4 dc in the same sp, close the popcorn as for pc, ch 2, sk the next sc. [Pc in the next ch-3 sp, ch 2, sk the next sc] 23 times. Join with a sl st to the top of the first popcorn. Fasten off and weave in all ends. (24 popcorns)
- Mark popcorns 1, 7, 13 and 19 (counting from the first one you made) with stitch markers. These four marked popcorns point up, right, down and left, and they are the ones you will join to neighboring motifs.
Filler Flower (make 48 for the full size)
The flower is a small round center with six oval petals sewn around it. It fills the gap where four motifs meet. Leave a 20 cm tail on every piece.
- Center, Rd 1: 6 sc in MR. (6)
- Center, Rd 2: inc in each st around. Sl st in the next st and fasten off, leaving a tail. (12)
- Petal (make 6), Rd 1: Ch 4. Sc in the 2nd ch from hook and the next ch (2 sc), 3 sc in the last ch, then 2 sc down the other side of the foundation chain. Do not join. Sl st in the next st and fasten off, leaving a tail. (7)
- Assembly: Arrange the six petals evenly around the center with the bases against the edge. Sew each petal base to the center, then sew neighboring petal bases together so the flower holds its shape.
Layout and Sizing
- The motifs are laid out in a straight square grid, with the four marked popcorns on each motif pointing to the four neighbors. A filler flower sits in the gap at every point where four motifs meet.
- Sizes: throw, 5 motifs across by 6 down (30 motifs and 20 flowers), about 125 x 150 cm. Twin, 6 across by 8 down (48 motifs and 35 flowers), about 150 x 200 cm. Full or double, 7 across by 9 down (63 motifs and 48 flowers), about 175 x 225 cm. The yarn amounts in this pattern are for the full size.
- Every motif is worked the same way, so the swirl direction is the same across the blanket. The outer popcorns make a bumpy edge all the way around.
- Lay out all the motifs on the floor and take a photo before you join anything.
Joining the Motifs
- Block every motif flat to 25 cm and let it dry completely.
- Join the motifs into rows first, then join the rows to each other.
- Place two motifs side by side with right sides up so that the marked popcorns touch. Using burgundy yarn and a tapestry needle, whip stitch the two popcorns together with 4 or 5 stitches around their bases.
- Where four motifs meet, stitch across the center of the join so there is no gap.
- Place a filler flower in each gap, with petals pointing toward the motifs, and sew the tip of each of the four nearest petals to the nearest popcorn. Sew the flower center down at 3 points.
Matching Pillow Front (make 2)
- Make 4 motifs and 1 filler flower for each front.
- Join the 4 motifs into a 2 x 2 panel using the same popcorn joins. Sew the flower into the center gap. The panel measures about 50 cm (20 in) square.
Matching Pillow Back (make 2)
- Ch 69.
- Row 1: Sc in the 2nd ch from hook and in each ch across. Ch 1, turn. (68)
- Rows 2-70: Sc in each st across. Ch 1, turn. (68)
- Fasten off and weave in the ends. The panel measures about 50 cm (20 in) square after blocking.
Assembling the Pillow Cover
- Place the front and back with wrong sides together. Whip stitch the back panel to the outer edge of the front along three sides, passing through the Rd 13 sc of each outer motif so the stitches stay hidden under the popcorns.
- Insert the 50 cm pillow and close the fourth side the same way, or sew on snaps if you want to remove the insert for washing.
Ribbed Lumbar Pillow (optional)
- Make 2 panels. Ch 36. Row 1: Sc in the 2nd ch from hook and in each ch across. Ch 1, turn. (35)
- Rows 2-71: Sc in the back loop of each st across. Ch 1, turn. (35) Fasten off. Each panel measures about 26 x 51 cm and has ribs running across the width.
- With wrong sides together, whip stitch the panels together along three sides, insert the 25 x 50 cm pillow and close the fourth side.
Finishing
Weave in every end before joining, as each motif has a few and they are easiest to hide while the pieces are small. After joining, steam or mist the blanket lightly and pat the popcorns and flowers into place. Block according to your yarn’s care label: wet-block wool, and steam acrylic by holding the iron above the fabric without pressing. The open lace stretches when wet, so support the full weight of the blanket and dry it flat.
Tips for Success
- Cross off each round on the chart as you finish it, and check the stitch count against the number in brackets at the end of every round, at least for the first few motifs.
- Work in good daylight. The ridges are hard to see in dark yarn, and the chart is much easier to follow when you can see the raised stitches.
- Make the popcorns tight and even, and pull the closing loop firmly. Loose popcorns flop sideways instead of standing up round.
- Make the motifs in batches of ten and block each batch together so they all end up the same size.
- Weigh your first finished motif and flower, then multiply by your motif count to check you have enough yarn before you begin the rest.
Common Mistakes to Avoid
- Working a B stitch in both loops, or an N stitch in the back loop only, breaks the arms. Mark the start of each B run with a stitch marker until you know the rhythm.
- Missing an increase in the spiral leaves the center cupped instead of flat. Check each round against its bracketed count.
- Joining the wrong popcorns makes the grid crooked. Mark the four compass popcorns and match them to the neighbors before you stitch.
- Pulling the ch-3 loops in Rd 14 tight makes the ring buckle. Keep the chains loose so the loops lie flat.
- Using a hook that is too large makes a floppy circle that will not lie flat. Drop down half a size so the spiral stays firm.
Ways to Customize This Pattern
- Change the color. Forest green, navy, charcoal or deep teal all keep the texture, while a pale cream makes the swirl glow.
- Make the popcorns and flowers in a second color, such as blush or gold, for a contrast against the burgundy swirl.
- Skip the popcorn round and join the motifs on the ch-3 loops for a lighter, lacier blanket.
- Make a throw or baby blanket using the smaller sizes in the Layout and Sizing section.
- Use worsted yarn and a 4 mm hook for a lighter blanket. Work the spiral to about 17 rounds to keep the motif about the same size, and make a test motif first.
Frequently asked questions
Yes. Every motif is made exactly the same way, and every filler flower is the same too. Only the pillow backs differ, because they are plain.
The unworked front loops sit up on the right side as small ridges, and the chart places them so they curve into four spiral arms. It adds texture without a second color, so the swirl shows up in a single shade.
You can, by replacing the ch 2 beside the marked popcorn on Rd 15 with a sl st into the touching popcorn of a neighbor. Sewing gives you more control over the spacing, so it is the method written here.
About 70 minutes once you find your rhythm, a little longer for the first few. The spiral takes about 40 minutes and the lace and popcorn rounds take about 30 minutes.
The finished Burgundy Textured Spiral Motif Crochet Blanket