Burgundy Flower Bunny Amigurumi Pattern
Beginner Friendly
Perfect for those just starting their crochet journey, with clear instructions and simple techniques
Single-Day Project
A satisfying project you can complete in a single afternoon or evening.
Handmade Gift
A beautiful keepsake — free forever. Read online or print at home.
About This Burgundy Flower Bunny Amigurumi Pattern
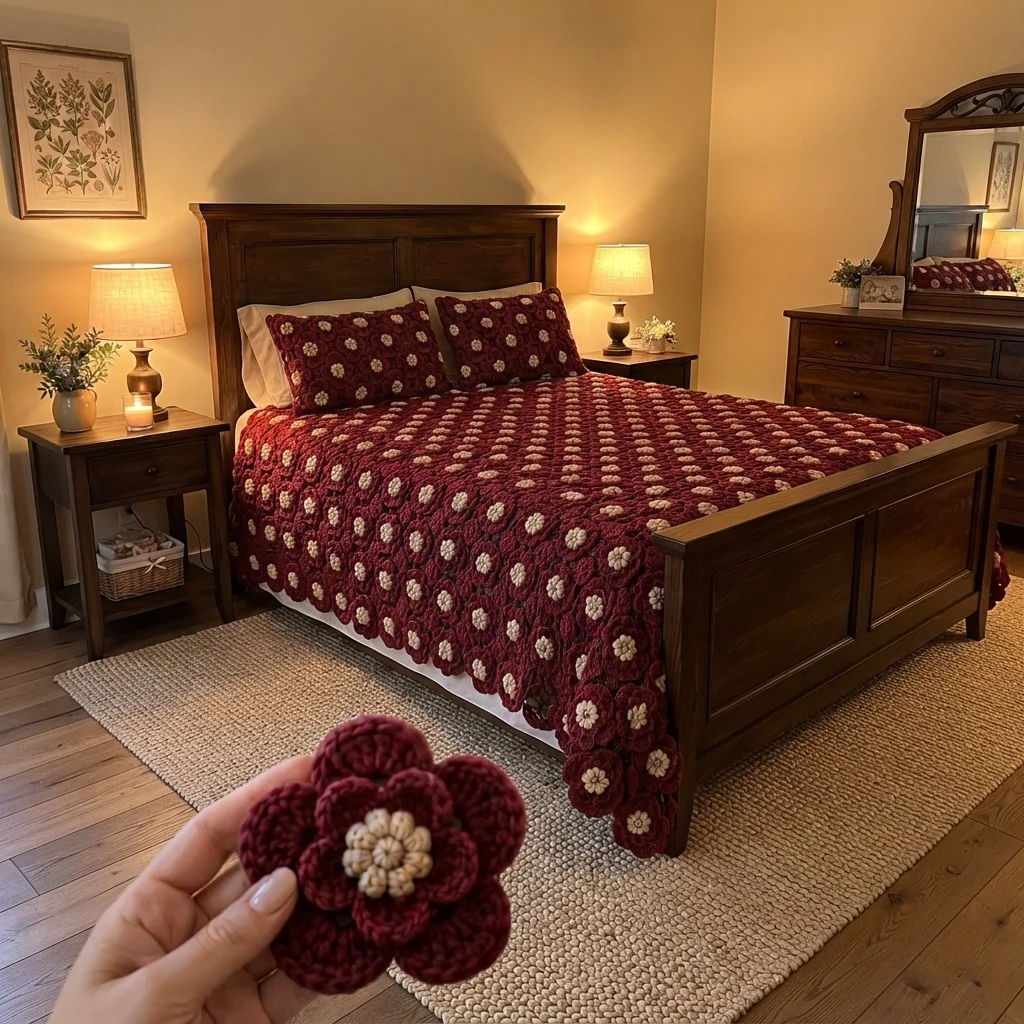
This burgundy flower bunny amigurumi pattern takes the deep red, layered blooms of a cozy bedroom blanket and turns them into a soft toy. The bunny is worked in rich burgundy cotton with cream paws, feet, muzzle and tail, and a layered crochet flower with a cream button center is sewn onto its chest like a brooch.
It is an advanced pattern. You will crochet fifteen separate pieces, change colors mid-round on the arms and legs, shape long flat ears, build a three-part flower with shell petals, and sew everything together by hand. Plan on seven to nine hours, spread over a few evenings.
It suits crocheters who are comfortable with magic rings, invisible decreases and working several stitches into one stitch. The finished bunny sits about 24 cm tall with its ears, and it makes a warm gift for anyone who loves rich autumn colors and handmade florals.
Materials
- DK cotton yarn, burgundy (A) about 120 g
- DK cotton yarn, cream (C) about 40 g
- Crochet hook 3.0 mm
- Safety eyes 8 mm, 1 pair
- Dark burgundy embroidery thread for nose and mouth
- Polyester fiberfill
- Stitch markers
- Yarn needle
Abbreviations
MRmagic ringscsingle crochethdchalf double crochetdcdouble crochetinc2 sc in the same stitchdecsingle crochet 2 stitches together (invisible decrease)sl stslip stitchst(s)stitch(es)FOfasten offAburgundy yarnCcream yarn( )xrepeat the stitches in brackets the number of times givenHead (A)
- Round 1: 6 sc in MR (6)
- Round 2: inc x6 (12)
- Round 3: (1 sc, inc)x6 (18)
- Round 4: (2 sc, inc)x6 (24)
- Round 5: (3 sc, inc)x6 (30)
- Round 6: (4 sc, inc)x6 (36)
- Round 7: (5 sc, inc)x6 (42)
- Rounds 8-15: sc in each st around (42) for 8 rounds. Insert safety eyes between rounds 10 and 11, with 9 stitches between them.
- Round 16: (5 sc, dec)x6 (36)
- Round 17: (4 sc, dec)x6 (30)
- Round 18: (3 sc, dec)x6 (24). Stuff firmly.
- Round 19: (2 sc, dec)x6 (18)
- Round 20: (1 sc, dec)x6 (12)
- Round 21: dec x6 (6). FO, weave the tail through the front loops and pull closed.
Muzzle (C)
- Round 1: 6 sc in MR (6)
- Round 2: inc x6 (12)
- Round 3: (1 sc, inc)x6 (18)
- Round 4: sc in each st around (18)
- Round 5: (1 sc, dec)x6 (12). Stuff lightly. FO leaving a long tail.
- Embroider a small nose and a short Y-shaped mouth in dark burgundy thread, then sew the muzzle to the head over rounds 12-16, centered under the eyes.
Ears (make 2, A)
- Round 1: 6 sc in MR (6)
- Round 2: inc x6 (12)
- Round 3: (1 sc, inc)x6 (18)
- Rounds 4-8: sc in each st around (18) for 5 rounds
- Round 9: (1 sc, dec)x6 (12)
- Rounds 10-11: sc in each st around (12). FO leaving a long tail. Do not stuff; flatten the ear.
Inner Ears (make 2, C)
- Round 1: 6 sc in MR (6)
- Round 2: inc x6 (12). FO leaving a tail and sew each disc to the front of an ear, near the base.
Body (A)
- Round 1: 6 sc in MR (6)
- Round 2: inc x6 (12)
- Round 3: (1 sc, inc)x6 (18)
- Round 4: (2 sc, inc)x6 (24)
- Round 5: (3 sc, inc)x6 (30)
- Round 6: (4 sc, inc)x6 (36)
- Rounds 7-12: sc in each st around (36) for 6 rounds
- Round 13: (4 sc, dec)x6 (30)
- Rounds 14-15: sc in each st around (30)
- Round 16: (3 sc, dec)x6 (24)
- Round 17: sc in each st around (24). Stuff firmly. FO leaving a long tail.
Arms (make 2, start in C, finish in A)
- Round 1: 6 sc in MR (6)
- Round 2: inc x6 (12)
- Rounds 3-4: sc in each st around (12), in C. Change to A on the last stitch of round 4.
- Round 5: (4 sc, dec)x2 (10)
- Rounds 6-12: sc in each st around (10) for 7 rounds. Stuff lightly. FO leaving a long tail.
Legs (make 2, start in C, finish in A)
- Round 1: 6 sc in MR (6)
- Round 2: inc x6 (12)
- Round 3: (1 sc, inc)x6 (18)
- Rounds 4-5: sc in each st around (18), in C. Change to A on the last stitch of round 5.
- Rounds 6-7: sc in each st around (18)
- Round 8: (1 sc, dec)x6 (12). Stuff the foot firmly.
- Rounds 9-13: sc in each st around (12) for 5 rounds. Stuff firmly. FO leaving a long tail.
Tail (C)
- Round 1: 6 sc in MR (6)
- Round 2: inc x6 (12)
- Round 3: (1 sc, inc)x6 (18)
- Rounds 4-5: sc in each st around (18)
- Round 6: (1 sc, dec)x6 (12). Stuff firmly.
- Round 7: dec x6 (6). FO leaving a long tail and close the hole.
Flower, Back Layer (A)
- Round 1: 6 sc in MR (6)
- Round 2: inc x6 (12)
- Round 3 (petals): *in the next st work sc, hdc, 3 dc, hdc, sc (7 sts in one stitch), then sl st in the next st*. Repeat from * to * 6 times in total (6 petals, 48 sts). FO leaving a long tail.
Flower, Front Layer (A)
- Round 1: 6 sc in MR (6)
- Round 2: inc x6 (12)
- Round 3 (petals): *in the next st work sc, 3 hdc, sc (5 sts in one stitch), then sl st in the next st*. Repeat from * to * 6 times in total (6 smaller petals, 36 sts). FO leaving a long tail.
Flower Center (C)
- Round 1: 6 sc in MR (6)
- Round 2: inc x6 (12)
- Rounds 3-4: sc in each st around (12)
- Round 5: dec x6 (6). Stuff with a small ball of fiberfill. FO leaving a long tail and close the hole.
- Thread a needle with C and pass it through the center from top to bottom and back up 6 times, pulling gently each time to create a segmented, button-like look.
Finishing
Sew the head to the top of the body through the 24 neck stitches, adding a little more stuffing if the neck wobbles. Sew the ears upright to the top of the head about 8 stitches apart, with the inner ears facing forward. Sew the arms to the sides of the body around rounds 14-15, with the cream paws pointing down. Sew the legs to the lower front of the body around rounds 4-6, with the feet pointing forward so the bunny sits upright. Sew the tail to the back at the base.
Stack the front flower layer on the back layer, turning it so the front petals sit between the back petals, and sew the two together through the center. Sew the cream center on top. Pin the finished flower to the chest, just below the neck seam, and stitch it down through the back layer. Weave in all ends.
Tips for Success
- Mark the last stitch of every round so the color changes on the arms and legs land in the same spot.
- Work the last stitch of the old color with the new yarn so the change looks clean.
- Press the flower layers flat with a damp cloth before stacking them. Petals curl otherwise.
- Place the safety eyes before stuffing the head, and test the position with pins before you lock them.
- Stuff the legs and the bottom of the body more firmly than the arms so the bunny sits without help.
Common Mistakes to Avoid
- Working the petal stitches too tightly makes the flower cup and pucker. Use a loose tension and spread the stitches on your hook.
- Miscounting the sl st between petals leaves you with five or seven petals. Count 12 stitches in round 2 and mark every other one.
- Sewing the ears too far apart gives the bunny a flat, wide look. Pin them first and step back before stitching.
- Leaving gaps at the neck seam lets the head droop. Sew all 24 stitches with small, tight stitches.
- Stuffing the ears makes them stiff and pulls them out of shape. Leave them flat and unstuffed.
Ways to Customize This Pattern
- Swap burgundy for navy, forest green or mustard and keep the cream center for a different seasonal palette.
- Make a smaller second flower and sew it to the base of one ear like a hair accessory.
- Work the flower in cream with a burgundy center for a softer, lighter version.
- Add a third petal layer by repeating the front layer in a slightly darker shade.
- Use a thicker yarn and a 4.5 mm hook for a larger snuggle-sized bunny, adding a few rounds to each piece.
Frequently asked questions
Yes. Cotton gives crisper petals, but a DK acrylic works well if you keep your tension loose on the flower. Make sure both colors are the same weight so the layers sit flat.
Work all seven stitches of each back petal into a single stitch, and keep the stitches loose. The shell shape fans out on its own, and the slip stitch between petals pulls them apart into clean scallops.
Yes. The bunny is complete without it, and the cream paws, feet and tail still carry the color story. You can also sew a small plain cream button or a bow on the chest instead.
For a child under three, skip the safety eyes and embroider the eyes with dark thread instead, and sew the flower on with several rounds of stitching so it cannot come loose.
The finished Burgundy Flower Bunny Amigurumi Pattern

